Hooah Hill Farm
  • Home
  • For Sale
    • Contact Hooah Hill
  • Breeding Schedule
    • Reference Goats
    • Links
  • Bucks
  • Senior Does
  • Junior Does
  • Serra Hinzman Soaperie
  • Art Gallery
  • Blog

Pickles of the Past

7/12/2014

2 Comments

 
Picture
Bread and Butter Pickles
Picture
No matter how "old" I get, I seem to constantly experience moments of "growing up."  Many of these milestones of maturity seem to come in the form of culinary feats.  The kitchen accomplishments of my mother and grandmother set a bar of worth that rises above academic, athletic and financial achievements.  Then, I regrettably did not act as an active observer to the process of making-the-food. (I nonetheless completely embraced role of active participant in eating-the-food!)  Sadly my genetic culinary mentors are gone today, my sister and I are left to piece together the cookery memoirs of our mother and grandmother. 

Like fresh bread and handmade pasta, my mother's pickles were a mystery to me.  Witnessing my mother "put-up" pickles seemed to me like a mad scientist at work in her laboratory;  huge pots of boiling water, sterilizing jars, chopped vegetables, salt and spices.  To a teenager, very daunting indeed.  Every time I would comment, "This looks impossible!"  My mother's response every time, "It's not that hard."  I never believed her.  How could I deny what my eyes were seeing!

But she was 100% RIGHT!  It is not just easy.  It's REALLY REALLY easy!  This was a lesson I had to learn on my own years later.  The culminating moment was when I could stand in proud admiration of my beautiful sealed warm jars of pickles, snuggled a-top a soft, white bath towel.  I resolutely proclaimed to my own teenage girls, "Grandma was right. This wasn't hard."   Instantly my mother's voice of derision filled my head, "I told you."  I notice that I am conceding more points to my mother with every day that passes!

So here you go, everyone.  Make pickles.  It's not hard!      

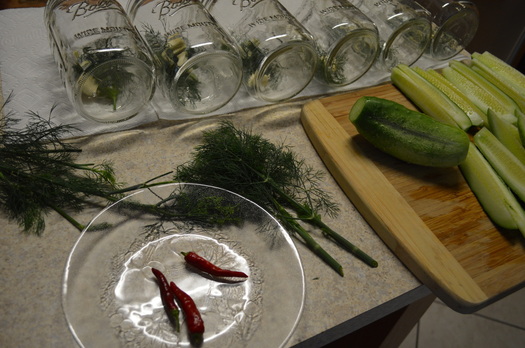
A couple of easy suggestions:  Use the freshest, organic ingredients available.  These recipes are very basic.  Don't hesitate to get creative to your particular tastes and desires.  I visited a friend the day before canning the dills and she gave me some wonderfully hot red pepper beauties fresh from her garden - in a few dill jars they went!

Sterilizing Jars - Wash them well in hot soapy water.  Dry them off. Place them on a cookie sheet, right side up, at 225 degrees Fahrenheit for 15 minutes.  Turn off oven and leave them until ready for use.  But I do boil the lids in water.

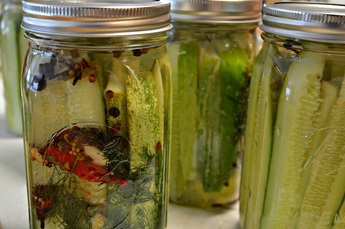
DILL PICKLE SPEARS

These amounts are for one quart.  Adjust accordingly.

1 1/2 cups filtered water
1/2 cup White Vinegar
1 1/2 Tablespoons Pickling Salt
3 to 4 sprigs of fresh dill seeds - Seed heads should still be green.  
1 to 2 Cloves of Garlic (optional)
1 quart small fresh cucumbers  (You can slice in any shape, ie: spears, chips.)

1.  Scrub the cucumbers thoroughly under cool water.Cut off blossom end and do not use damaged or bruised cucs.
2.  To make brine, heat water, vinegar and salt until salt is dissolved.
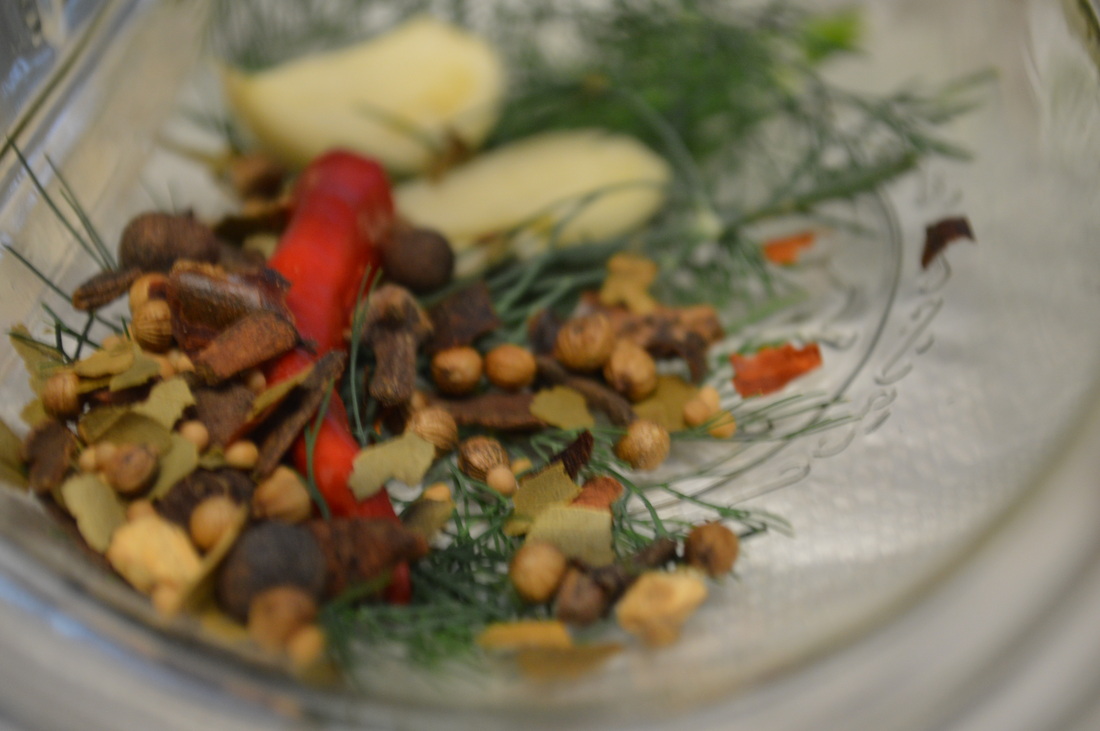
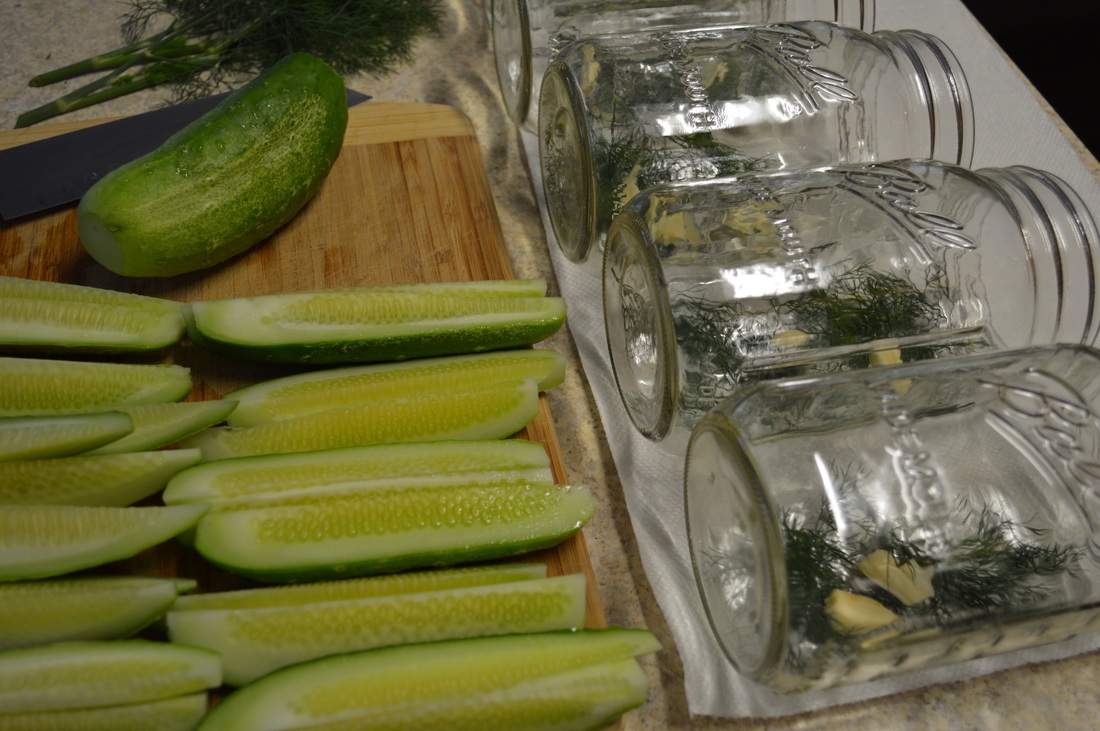
3.  Place sterilized jars on their side and place dill, garlic and any other ingredient you want.
4.  Pack the jar with cucumbers.
5.  Make sure they are packed snugly.  Use the handle of a wooden spoon to wedge more in, if need be.
6.  If using spears, be sure they are not too tall as to touch the lid and stick out of the brine.
7.  Pour the hot brine over the pickles, covering completely, leaving a little space under the lid.
8.  Cap immediately with the sterilized lids.
9.  DO NOT hot water process.  This is a fermentation process.
Store for at least six weeks, but delicious stored longer than six months!  


Picture
Picture
Picture
Picture
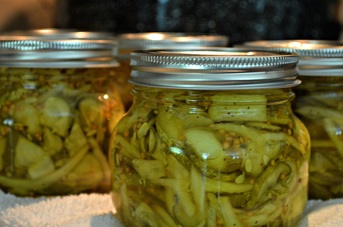
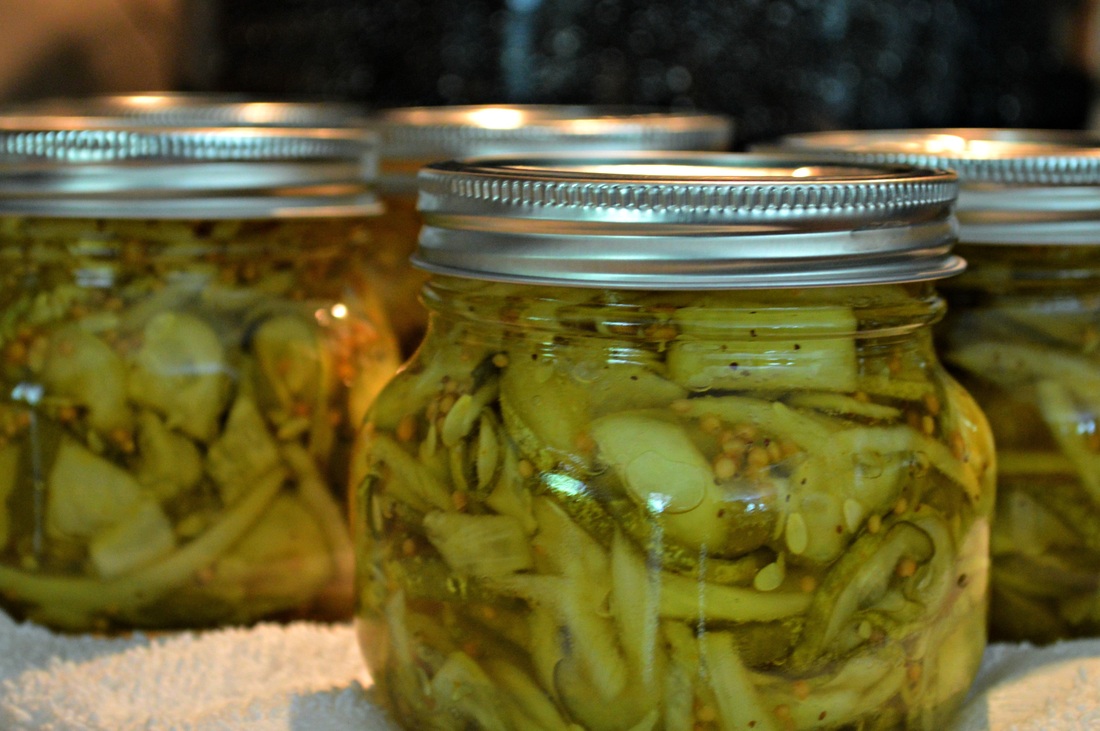
BREAD AND BUTTER PICKLES
Yields approx. 3 Quarts
15 cups sliced pickling cucumbers
3 onions, thinly sliced

2 to 3 Garlic Cloves, chopped
1 cup chopped green bell pepper
1/4 cup coarse salt

4 cups ice cubes
2 1/2 cups cider vinegar
2 1/2 cups sugar  (I actually reduce the sugar a little.)
1 teaspoon turmeric
3/4 teaspoon celery seed
1 1/2 Tablespoon mustard seeds


1.  Sterilize jars and lids.
2.  Combine cucumbers, onions, garlic, pepper, salt and ice in a large bowl.
3.  Mix well and sit a weight on the mixture and allow to stand for 3 hours. (I place a plate on top of the mixture with a gallon jug of water on top.)
4.  Rinse and drain the mixture thoroughly.
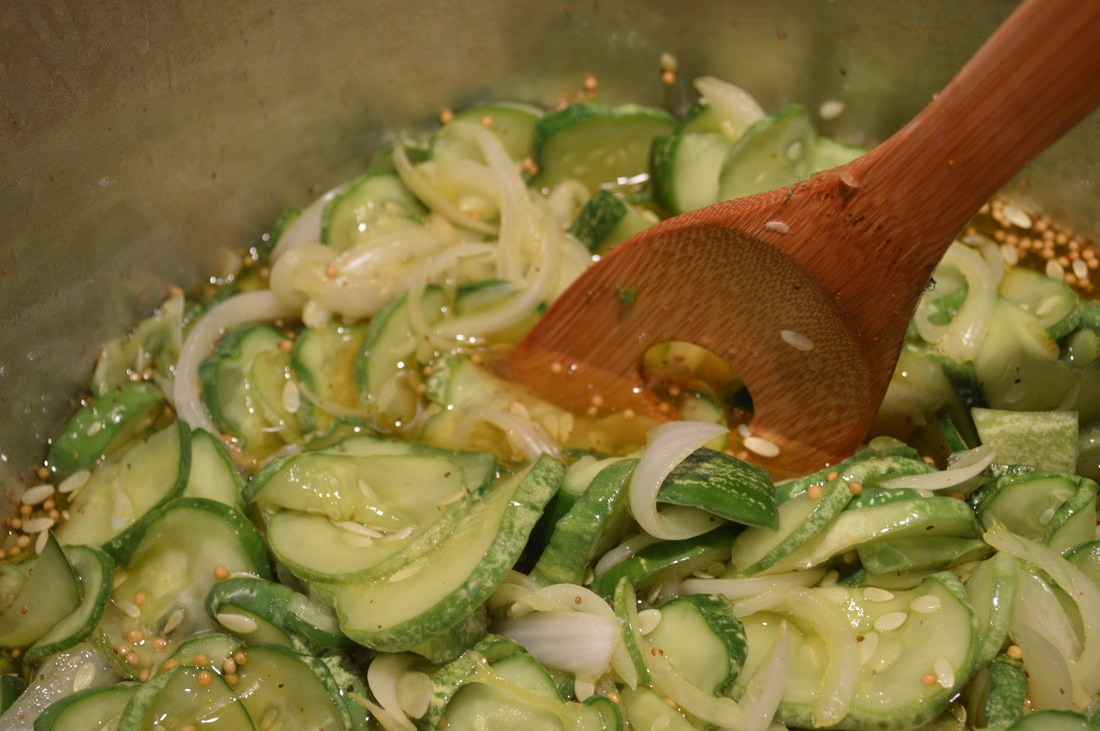
5.  Combine vinegar, sugar,  turmeric, celery seed and mustard seed in a large pot.
6.  Add drained cucumbers.
7.  Place pot on medium low heat.
8.  Bring to almost a boil - DO NOT BOIL.
9.  Remove from heat.
10.  Spoon mixture into sterilized jars and cover with liquid.
11.  Wipe rims of jars with damp cloth.
12.  Seal with sterilized lids.
13.  Place in hot water bath for 10 minutes.
No waiting time to eat!  Go for it!    

Picture
2 Comments

Sublime Crostini

4/27/2014

1 Comment

 
Picture
Love to love good food.  

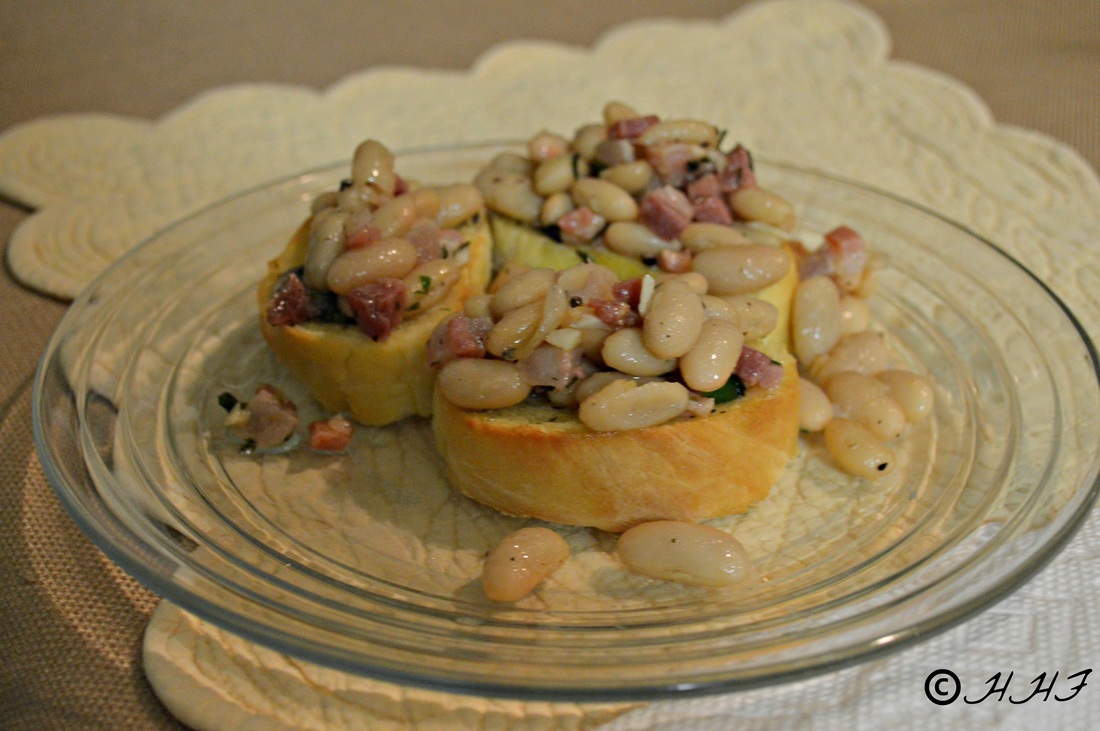
The favorable weather demands our time be spent outside.  This always changes our meals a bit - lighter, easier, faster.   What doesn't change is the desire to enjoy what we eat!  This yummy ensemble atop a homemade, day old, toasted baguette checks all the blocks.  

Pulled out this gem of a recipe from an Extra Virgin episode!  Incredibly delicious!

http://www.cookingchanneltv.com/recipes/debi-mazar-and-gabriele-corcos/white-beans-and-rosemary-crostini.html
1 Comment

FANTASTIC FARRO!

12/6/2013

1 Comment

 
Picture
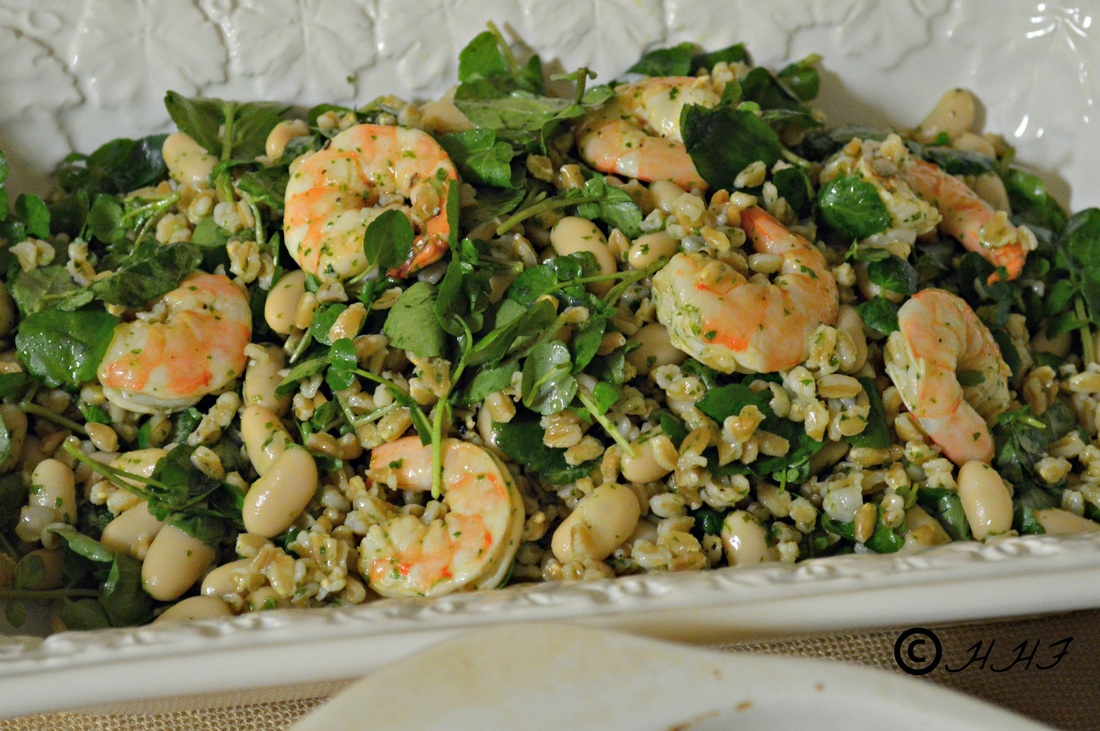
Shrimp and Farro Salad
Gabriele Corcos did it again!  We recreated his masterpiece from the Extra Virgin show on the Cooking Channel and it was "Fabuloso"!  We have never eaten Farro - an Italian grain - the star of the meal.  It wasn't an inexpensive dish, but if you are looking for a WOW factor, this will do it.  The only variation from the recipe was we eliminated the mint from the dressing and replaced it with fresh basil.  We oven roasted the shrimp at 350 degrees  with olive oil, lime. salt and pepper.  This is a cold salad and prepared all ingredients earlier in the day, keeping the the ingredients separate until just before serving.  Although, we did wait to make the dressing just before serving.  

Here is the link to the Shrimp and Farro Salad recipe:

  http://www.cookingchanneltv.com/recipes/debi-mazar-and-gabriele-corcos/shrimp-and-farro-salad.html

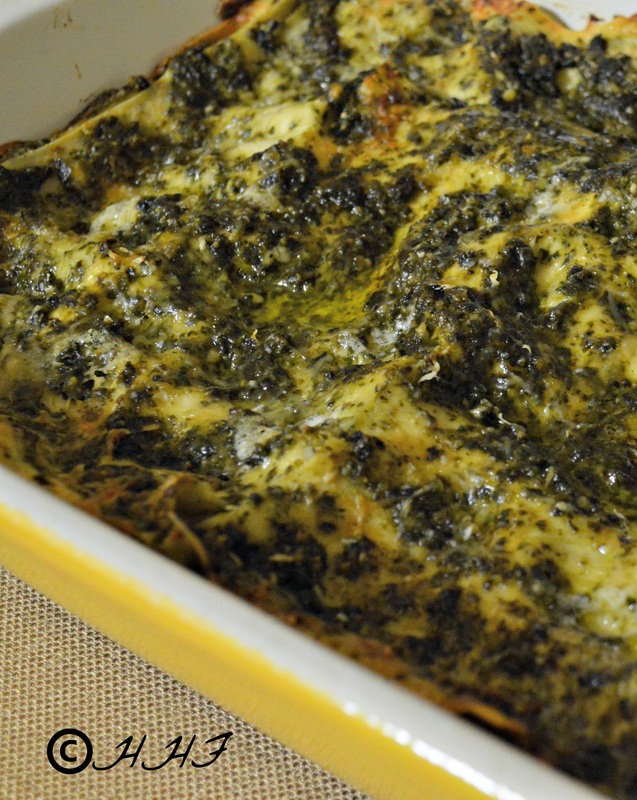
We actually recreated the entire meal from that episode -  The cold fresh Farro Salad placed beside the Pesto Lasagne was a perfect meal marriage!  The delicate layers of the "no-cook" lasagne noodles accompanied with the fresh pesto and besciamella was luxurious!  We did make an addition of very thinned sliced grilled eggplant to one of the layers and sauteed mushrooms to another layer. After placing the bottom layer of noodles, we placed a single layer of eggplant and the next layer we placed the mushrooms, followed by another four layers according to the recipe.   We also prepared the lasagne early in the day and pulled it out of the fridge about an hour before we put it in the oven.  You won't be disappointed by either of these dishes!

For desert we made the Flourless Chocolate Cake from a few posts ago, but this time we added a dollop of orange whipped cream on top.  Perfection!  

Orange Whipped Cream

1 Heavy Whipping Cream
1/4 Cup Confectioners Sugar (more or less to taste)
1 tsp Vanilla
Zest of one orange  

Here is the link to the Pesto Lasagne recipe:

   http://www.cookingchanneltv.com/recipes/debi-mazar-and-gabriele-corcos/pesto-lasagne.html
Picture
1 Comment

Dams and Daughters

11/30/2013

5 Comments

 
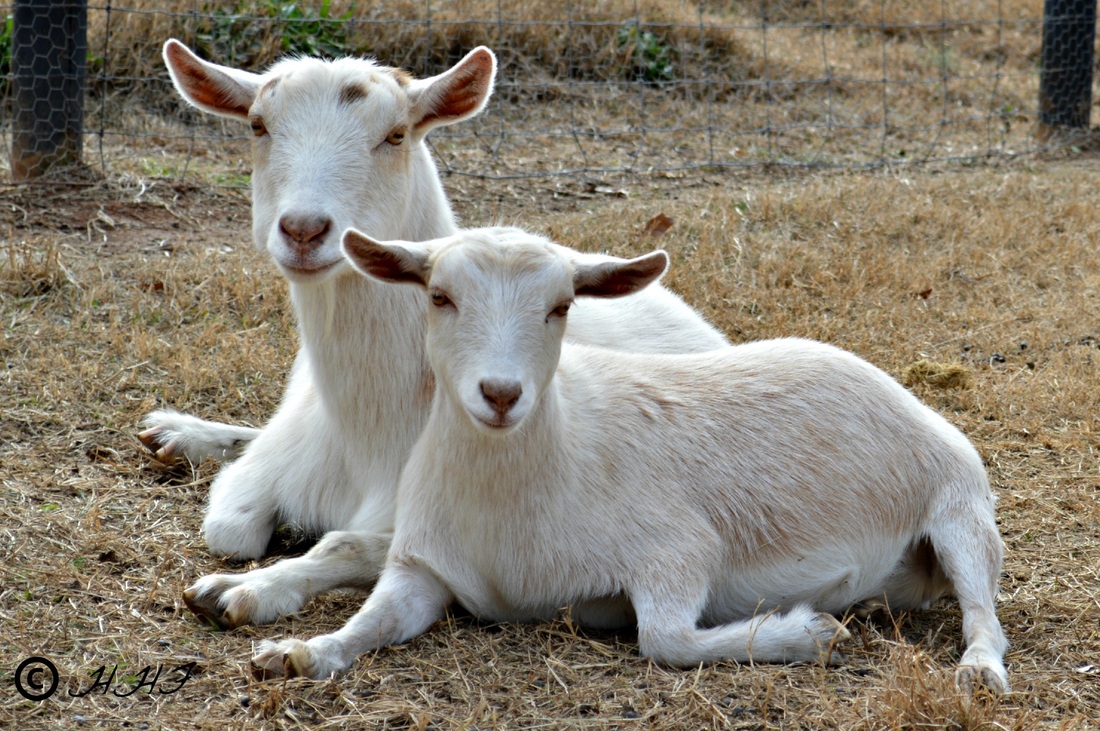
The bond between dams and their does warms our hearts!  Long after they have been weaned, they continue to find unconditional comfort with each other.  
Picture
Tea Cup with her mom, Oh My Darling.
Picture
Mom Bluza with daughter, Zazu.
Picture
Mom's Bluza and Nilly were first fresheners together. The pair and their girls have been best friends ever since.
Picture
Zazu with her mom, Bluza.
Picture
Zagora with her mom, Sugar. Zagora a growing mom-to-be, herself !
Picture
Dori with her mom, Nilly.
Picture
Picture
Roxy due late December.
5 Comments

Giving Thanks: A Food Essay

11/29/2013

2 Comments

 
Picture
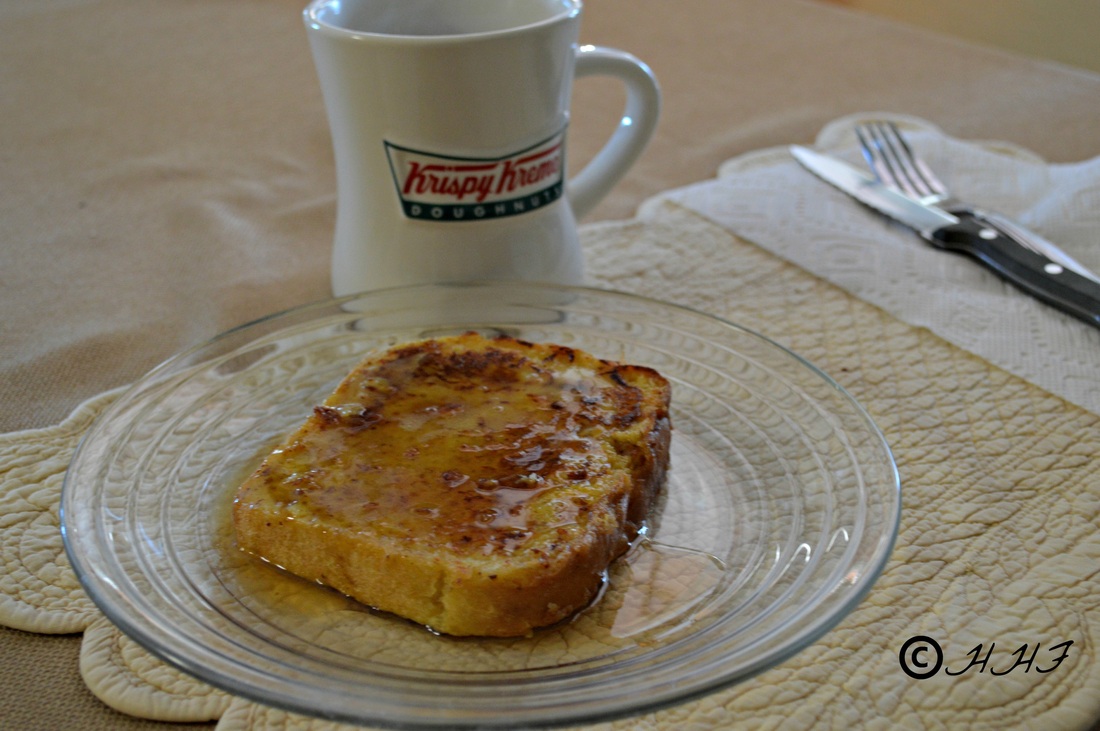
A perfect way to start the day...French toast made with homemade bread and maple syrup!
Picture
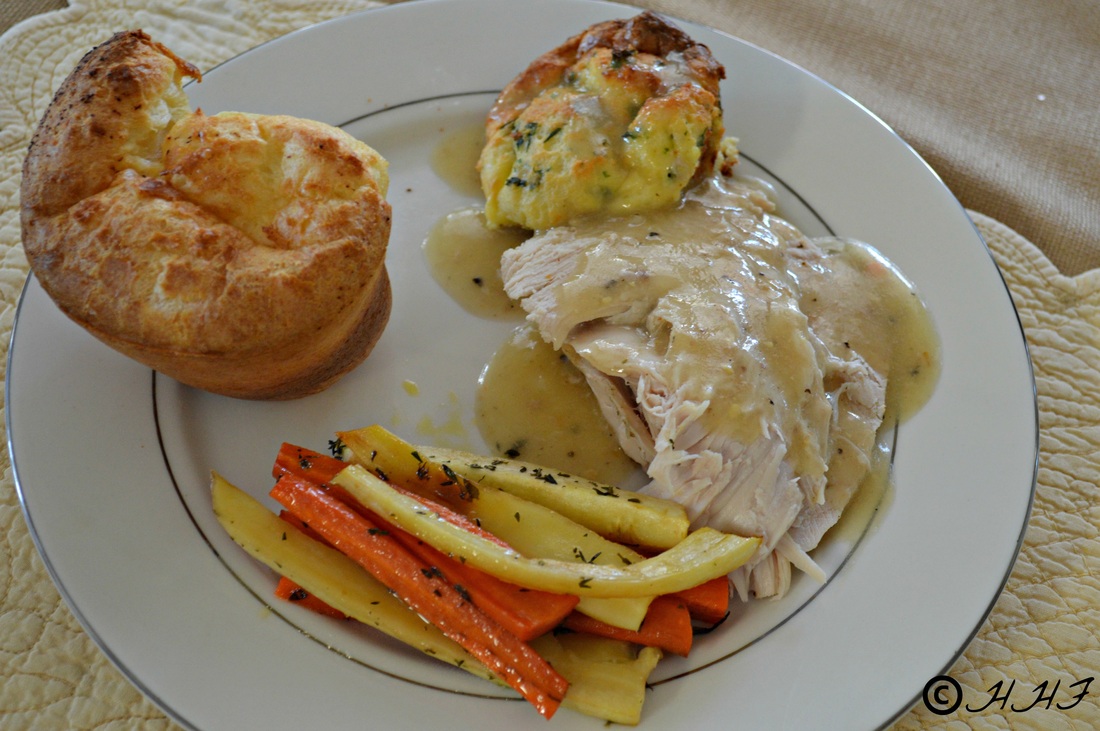
Dinner Time! Roast Turkey with white wine mustard gravy. Herb Bread Pudding (recipe courtesy of Anne Burrell), Roasted honey and herb parsnips and carrots. And a simple buttered popover.
Picture
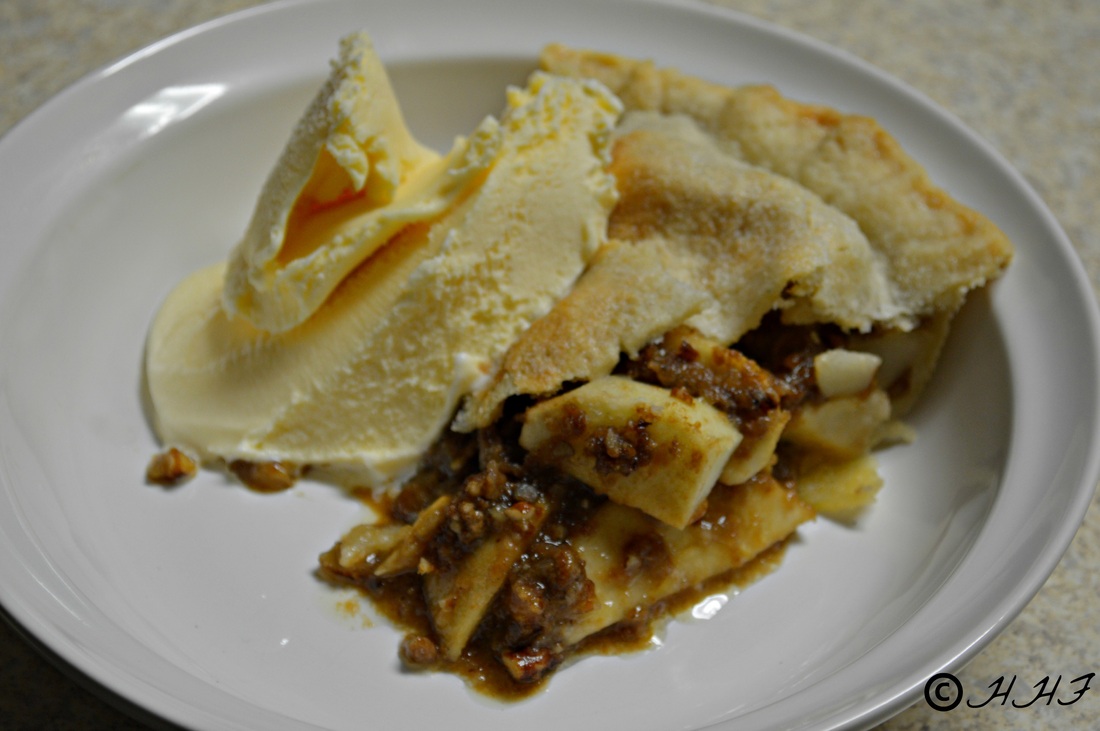
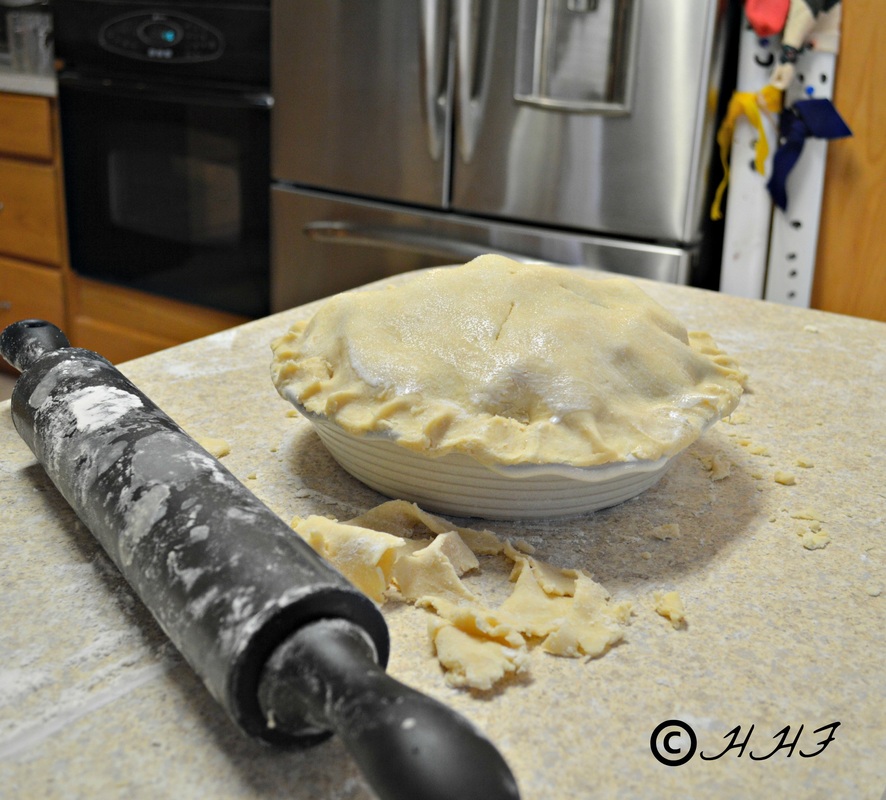
The classic homemade apple pie!
Picture
The apple pie was a triumph for us! We have never made an apple pie before and haven't had a lot of experience working with pastry dough. So we were a little nervous about the crust. But we are so thankful for Heartland Table chef, Amy Thielen for her fantastic dough recipe that came out wonderfully light and flaky!
Picture
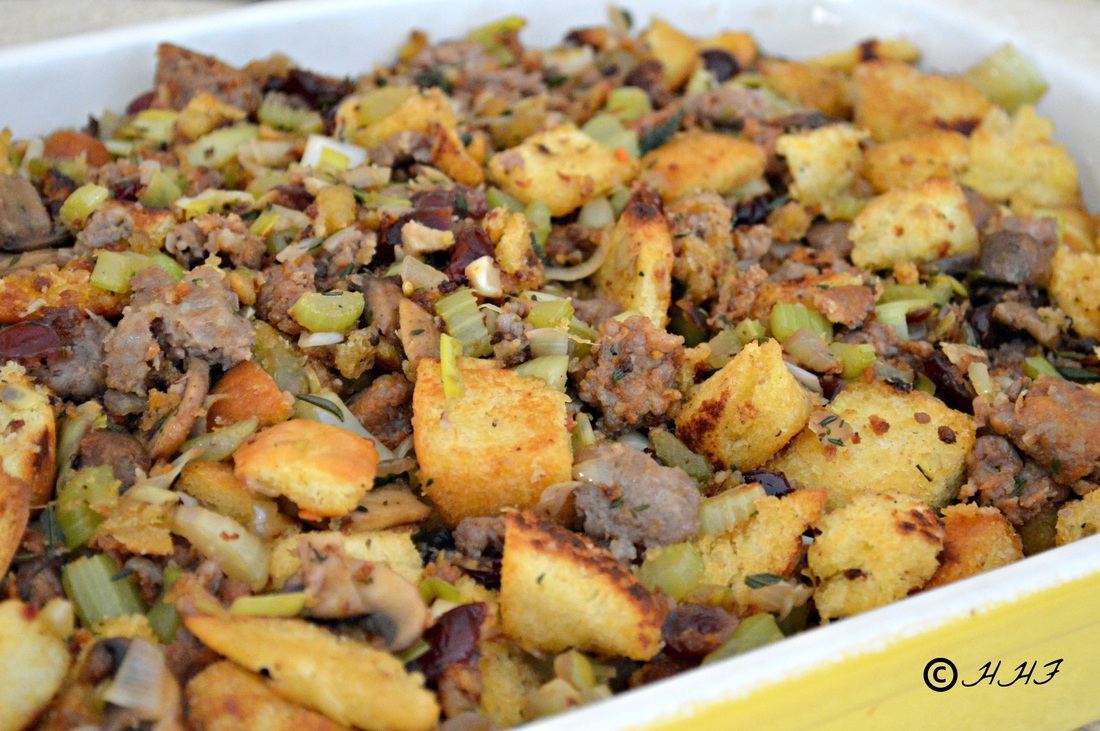
"The Day After" casserole. Leftover turkey and gravy layered underneath a pork sausage cranberry stuffing.
2 Comments

Pre-Thanksgiving: Going Native

11/28/2013

0 Comments

 
Picture
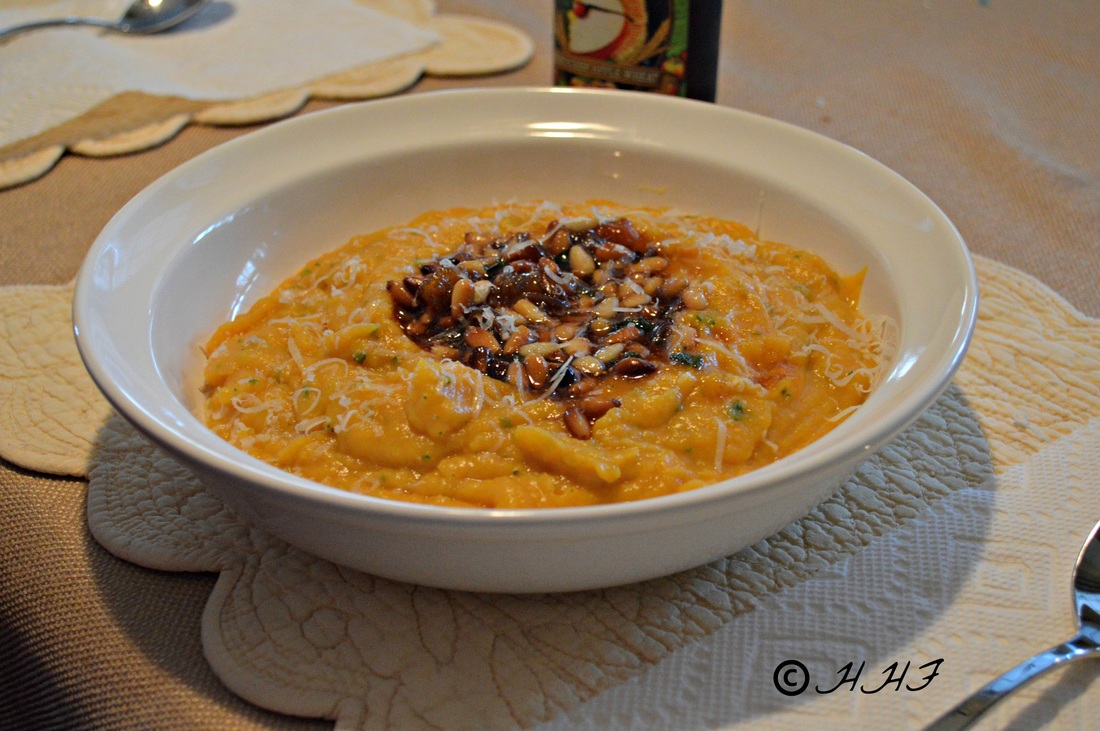
It is a celebration in our house whenever we have the opportunity to fuel our meals with homegrown or local food. For our "Thanksgiving Eve" dinner, we made a luscious Butternut Sage soup topped with a fig, white peach sauce which tasted like autumn with every spoonful!   

This extraordinarily simple dish was inspired by the delicious homemade Fig and White Peach Jam that was gifted to us by the sweet Amanda Clary.  A million Thanks!

There is no "official" recipe for this dish, but I will try to accurately recall.

2 Butternut Squash, roasted    
2 Red Delicious apples
2 Teaspoons Cinnamon
1 Cup Chicken Broth
1 Pint Heavy Cream
Handful of fresh Sage, chopped
1/4 Cup Parmigiano Reggiano, grated
Kosher Salt and Fresh Ground Pepper to taste

Cut squash in half lengthwise, scoop seeds, and lightly rub with olive oil.  Place on baking sheet and bake at 350 degrees Fahrenheit until fork tender (About an hour).  In a large sauce pan, add all ingredients (except sage) and saute for about 5 minutes, add sage and finish until apples are softening. Place all ingredients in food processor or blender and puree.  Add additional whole milk to processor to desired consistency.  I would actually add more milk next time to thin out the soup a bit.

Sauce

1 Cup Fruit Jam
1 Cup Pine Nuts
Olive Oil
Salt and Pepper to taste.

In sauce pan, toast Pine Nuts in butter.  Add fruit jam and olive oil to desired consistency.  Saute until thick and warm.    

Pour into bowls, top with sauce and grated Parmesan cheese.

0 Comments

Weak in the Knees!

11/22/2013

2 Comments

 
Picture
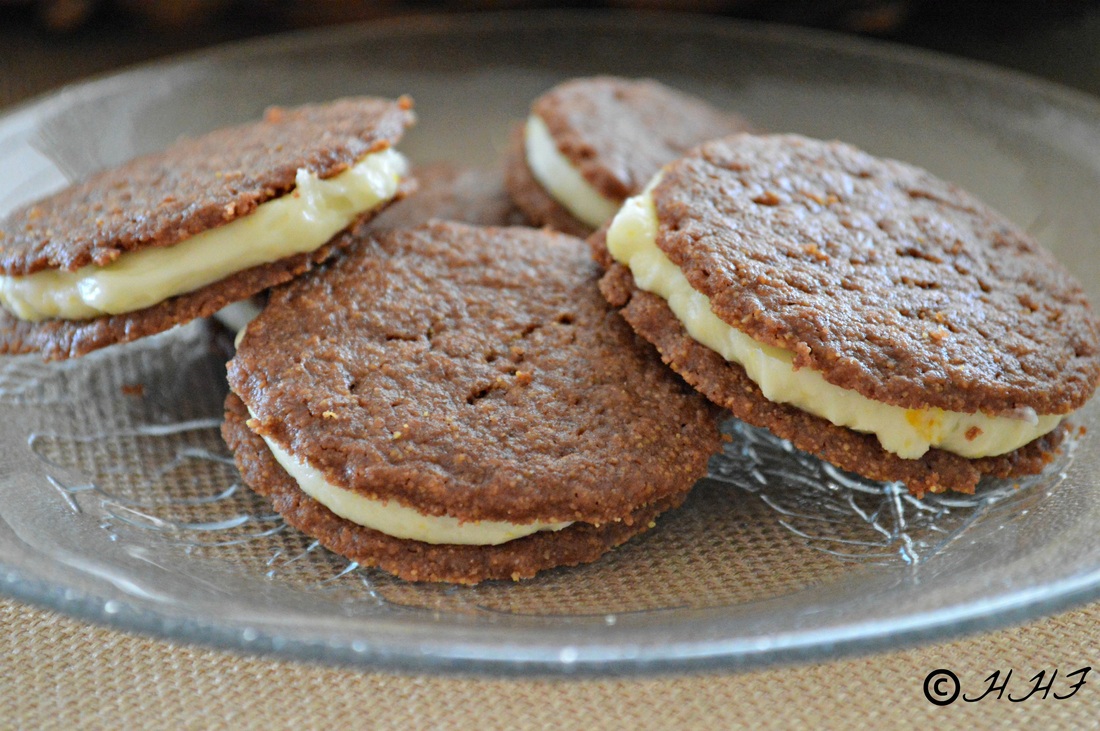
Upon regaining consciousness, we unanimously agreed...BEST COOKIE EVER!

First things first - I owe Giada de Laurentiis an apology for calling her cooking "antiseptic Italian" in the previous blog post.  This recipe came from her cooking show and it is OUTSTANDING!  She began the segment by claiming anytime she makes these for a party, the guests devour them - I believe her!  

My ears perked-up when Giada mentioned using orange zest (I adore citrus!) and I was curious about the cornmeal. The cornmeal gives the cookie a fantastic crunchy texture which perfectly compliments the luxuriously smooth orange creme filling.

Anything more I could say will fall short of how scrumptious these beauties are.

So, without further adieu....Presenting the greatest cookie recipe ever....

THE ITALIAN CHOCOLATE SANDWICH COOKIE !!!       

http://www.cookingchanneltv.com/recipes/giada-de-laurentiis/italian-chocolate-sandwich-cookie.html

A couple of suggestions that aren't included in the recipe:

 - Roll out dough between plastic wrap. 
 - Roll out dough in small amounts at a time.
 - Dough MUST remain cold to work with effectively.
 - Slide a fork under cut-out cookie to lift from dough.
 - Don't be tempted to use a larger cookie cutter than 1 3/4". 
 - I used a Sil-Pat on top of air-bake baking sheet.  
 - Recipe calls for baking time to be 15 minutes.  I pulled cookies out at 12 minutes.  Just keep an eye on this.
 - Fill cookies when they are cool.  
 - The "Filling" recipe portion is not enough to accommodate the whole cookie recipe.  I baked half the dough and almost used all the filling.  

They do require a little effort, but they're worth it!  


2 Comments

Pasta Roots

11/6/2013

4 Comments

 
Picture
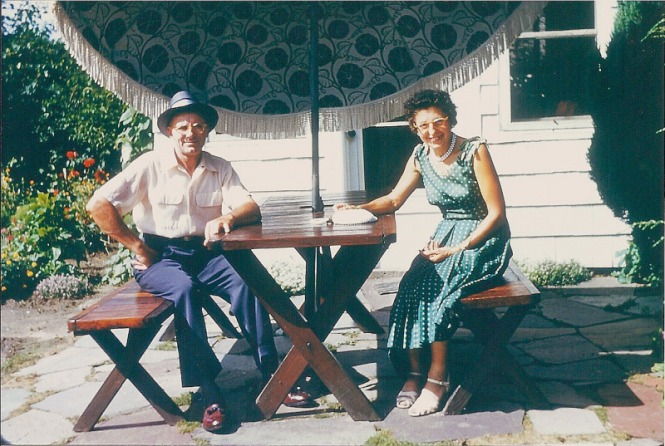
Nono and Noni
An early-childhood memory I have carried throughout my life has been my noni's Christmas handmade tortellini. However, when I was five-years old, my noni passed away and I was left only with the seemingly unobtainable mystique of mastering handmade pasta. Every time we ate any pasta dish, I was constantly reminded of the masterpiece and tremendous accomplishment that was Noni's pasta, and I never imagined I could ever accomplish this for myself. So I never tried.  The fear of pasta-making was shelved alongside my fear of made-from-scratch bread-baking - incidentally, a skill I now weild with ease and perfection!  

Times have changed and Food TV has offered all the chance to cook well...or at the very least, try.  My family and I are hooked on the Cooking Channel's show, Extra Virgin.  The always-charming couple, Debi Mazar and Gabriele Corcus, have proven to me I can cook like a true Italian...just like my noni !  Unlike the antiseptic Italian cooking of Giada de Laurentiis, Gabriele Corcus holds no claims to "Chefdom," but instead is an Italian who loves to share his passion for Italian food with his family and friends using the purest and most basic of ingredients. I get this. 

I have one of those monstrous Kitchen Aid stand mixers that could double as an aircraft engine if need be!  But the pasta attachment is ghastly expensive - upwards of $150 or more.  Spending $150 to make spaghetti is just ridiculous.  So I ventured off to Bed & Bath with coupons in hand and bought a hand-crank, counter-top pasta-maker for $27.00.  

I brought the shiny little contraption home, sat it on the counter, and we all stood around and stared at it for a moment.  David broke the silence, "That makes pasta?"  

I took a deep breath, "That's what it says."  

Impatient with our contemplation, Katie jumped in with an enthusiastic, "Let's do it!"

And boy, did we!  

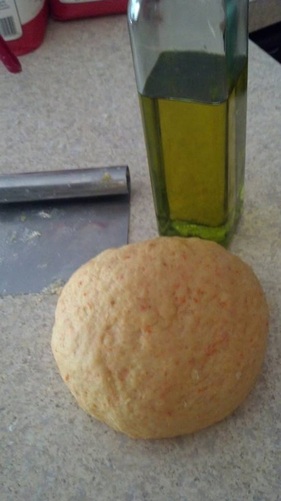
As with bread making, I don't bother myself with measuring these days - flour, yeast, salt, water, olive oil, and whatever else I am in the mood to add - and mix and knead until it feels like it should.  I assumed pasta would be the same - flour, eggs, salt, olive oil.  

               
Picture
My Basic Pasta Recipe  

3 to 4 cups flour
3 to 4 eggs with possibly adding one extra yolk
1/4 Cup Olive Oil
1 teaspoon kosher salt
Water 

Scoop flour on to work surface and open up an approximate eight inch diameter well in the center. 
Add eggs, olive oil and salt to the well.
With a fork, mix eggs, olive oil and salt together and then slowly incorporate the sides of the flour into the liquid until all is incorporated enough to begin forming dough and working it with your hands.  
Knead until you have a nice smooth ball of dough - five minutes or so.  It is not as light as bread dough.  So be prepared to work your arms.
Throughout the mixing and kneading process add water by the tablespoon until the dough feels moist but not overly sticky. If you add too much water, just add more flour.

When your dough is a smooth ball, wrap in saran wrap and let rest for 45 minutes before use.  If you are not using it that day, store in the refrigerator.  Pull the dough out of the refrigerator at least an hour before you will work with it.  

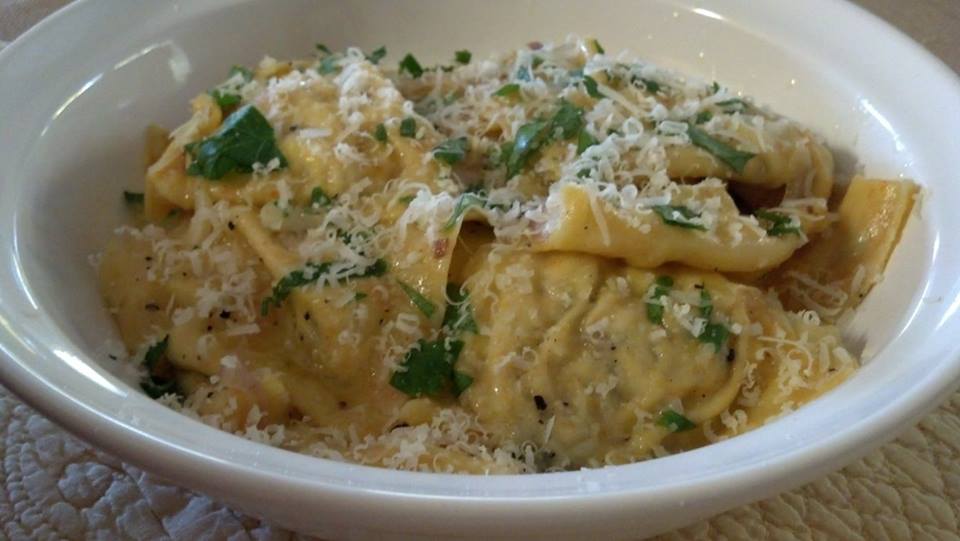
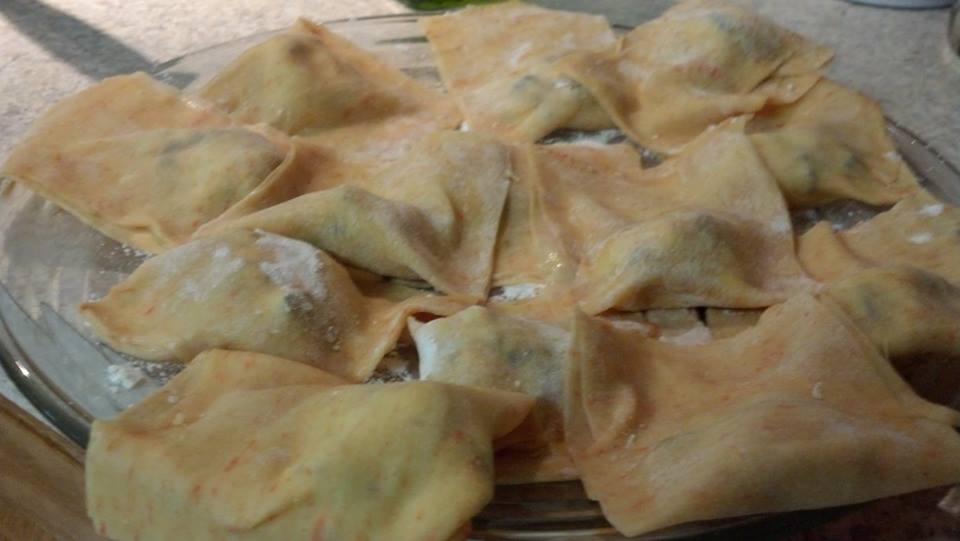
Carrot Ravioli filled with Grilled Eggplant, Gruyere and Goat Milk Ricotta

Picture
I think Noni would be proud!
I had made chicken broth the day before and saved the carrots used in making the broth.   I mashed about a quarter to a half cup of carrot to add to the pasta dough recipe.  I only used 3 eggs and 1 yolk in the basic dough recipe.

Ravioli filling:

1 Cup Goat Milk Ricotta Cheese (You can substitute with any store bought ricotta)  
1 Cup Grilled Eggplant, diced
1/4 Cup Gruyere Cheese, grated
Salt and Pepper to taste

I'm guessing on these measurements, so use your best judgment to find the consistency you prefer.

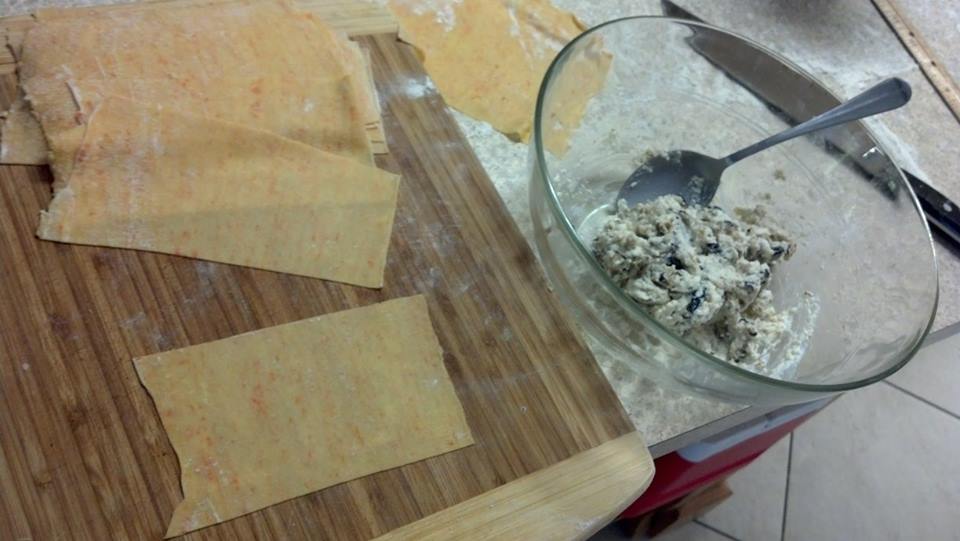
Cut rolled pasta dough into 3 inch widths.  Add little spoonful of filling.  Wet half the edges of the dough with fingertip.  Fold and press edges together to be sure there are no leaks.
Picture
You can see the beautiful flecks of carrot in the pasta dough!
Place into salted, boiling water.  I also had added an additional drizzle of olive oil to the boiling water to prevent the pasta from sticking to each other.  Watch carefully as fresh pasta cooks very quickly three to four minutes.  Pull out of boiling water with slotted spoon and directly add to sauce pan with prepared sauce.  Toss to coat and cook on medium heat for a minute or so.  
Picture
Basic Butter Sauce  

These measurements are "approximate" but your sauce will be best when you taste as you go.   

4 Tablespoons Unsalted Butter
1/2 Cup Olive Oil
1/2 Cup White Wine
2 Tablespoons Lemon Juice
1 Shallot, thinly sliced
3 - 4 Cloves Garlic, chopped
Pinch of Red Pepper Flakes
Kosher Salt and Pepper to taste

On medium heat, warm butter and olive oil.  Add shallot and lemon juice, salt, pepper and red pepper.  Stir and cook for 1 to 2 minutes.  Add white wine and cook until alcohol has disappeared.  Add garlic.  Stir for a minute or so and taste.  Adjust accordingly.

Place ravioli on serving dish.  Garnish with Gruyere or Parmesan cheese and fresh, roughly chopped Italian Parsley.
Salt dish to taste - I find that grinding Himalayan Salt over the top gives the ravioli an excellent crunch!  
4 Comments

Back to Blogging

9/19/2013

4 Comments

 
Picture
Our sweet Becca "Bunny" was a mere fourteen years old the last time I posted to the Hooah Hill Blog Page.  It's hard to believe, but she just turned seventeen this week and per her request, I made her a gluten-free cake.  It came out so good I thought, "Gee, this would be great for the blog!"   Life's hardships have settled down a bit, so maybe it's time to start blogging again.   

Bun doesn't suffer from ciliac disease, but she tries to make very healthy food choices with her diet.  She claims her body feels better choosing gluten-free foods whenever possible.  

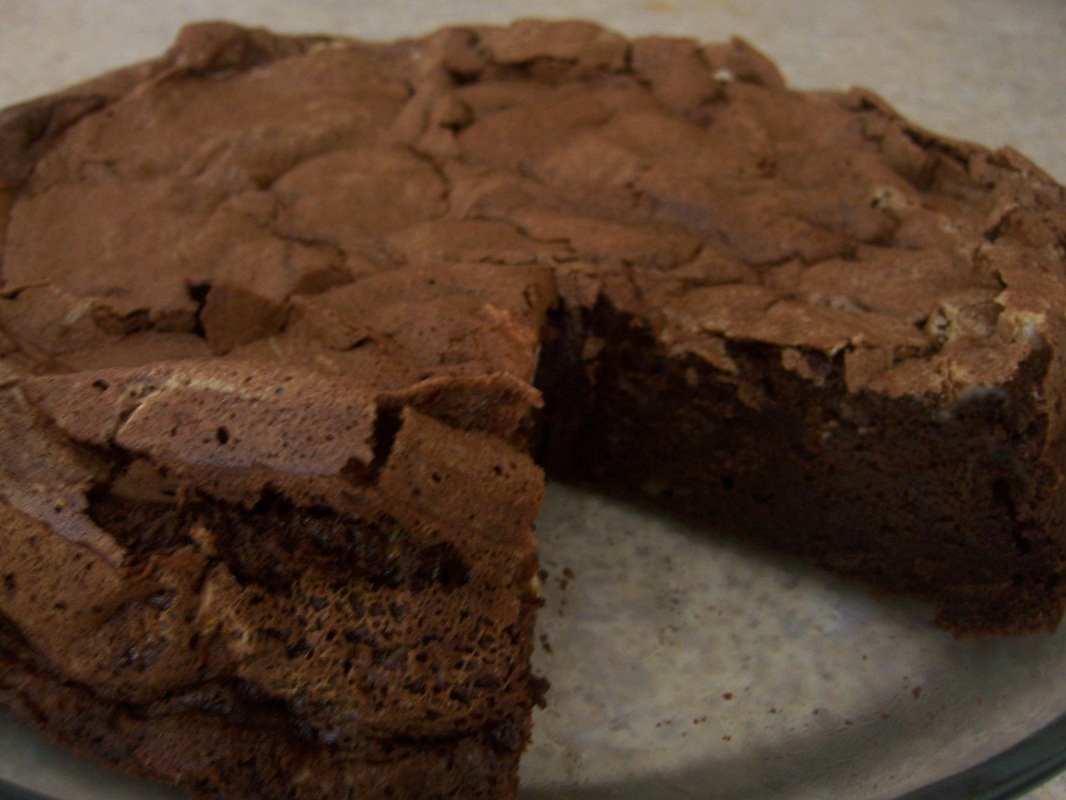
This request haunted me as the clock ticked closer to the big day.  Part of our family tradition is to embrace any and all celebratory days by preparing the best meal humanly possible!  So a gluten-free "cake" posed a definite challenge.  I found a possible candidate from the site mygluten-freekitchen.com for a "Flourless Chocolate Cake"(Original recipe from Martha Stewart).  Oh sure! A flourless cake - sounded like a contradiction of terms to me! Between us...I had a box of Betty Crocker Brownies on hand in the event of mission failure. 

This recipe may fall under the classification of "Cake", but I would definitely say its closest relative is the "Brownie". Once it has cooled to room temperature, it eats like decadent chocolate mousse.  A very appealing light and creamy texture.  Once refrigerated, it takes on more of a dense fudge brownie identity.  I prefer it as the mousse, but the family seems to equally enjoy the fudge brownie experience with a dollop of vanilla ice cream.

I have no five-star or four-fork food judging system...my verdict is either free-for-life or off-with-your-head. 
Translation: I will either make it again or I will not.   

I will make this "Flourless Chocolate Cake" again!   

 
Flourless Chocolate Cake {Gluten-free}
 
Recipe from: Michelle @ MyGluten-freeKitchen.com; original recipe from Martha Stewart
Recipe type: Dessert
Serves: 8

Ingredients
  • 6 Tbsp. unsalted butter, plus more for pan
  • 8 ounces bittersweet or semisweet chocolate, finely chopped (I used chocolate chips)
  • 6 large eggs, separated
  • ½ cup sugar
  • Sweetened vanilla whipped cream, for serving

Instructions
  1. Preheat the oven to 275°. Butter the bottom and sides of a 9″ springform pan. Set aside.
  2. Place butter and chocolate in a large, microwaveable bowl and microwave in 30-second increments, stirring after each 30 seconds, until completely melted. Let cool slightly. Whisk in egg yolks.
  3. In medium or large bowl, beat egg whites until soft peaks form. Gradually add the sugar, and continue beating until glossy stiff peaks form. Whisk ¼ of the egg whites into the chocolate mixture; then gently fold in remaining egg whites.
  4. Pour batter into the prepared pan, and smooth the top with a rubber spatula. Bake until the cake pulls away from the sides of the pan and is set in the center, 45-50 minutes. Cool completely on a wire rack; remove sides of pan. Serve at room temperature with sweetened vanilla whipped cream.

Notes
Dairy-free adjustment: Use a dairy-free, buttery flavored substitute like Earth Balance sticks in this recipe.  

 
4 Comments

Grandma's Zucchini Cake

7/5/2011

3 Comments

 
Picture
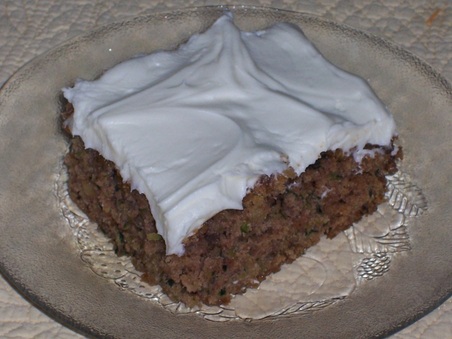
Any recipe title that starts with "Grandma" always gets my attention.  Having so many zucchini around, I am using it in everything.  I especially love zucchini bread and when I saw this recipe for cake (with cream cheese frosting, no less!) I couldn't resist trying it!  Boy is my family glad I did!  It's delicious and moist.  I followed the recipe only omitting the lemon zest and raisins (because I didn't have any on hand) and I used walnuts. Be sure not to overbake. I also was a little more liberal with the frosting. This is a recipe that I will keep in my recipe box. 
http://simplyrecipes.com/recipes/grandmas_zucchini_cake/

3 Comments
<<Previous

    Archives

    July 2014
    April 2014
    December 2013
    November 2013
    September 2013
    July 2011
    June 2011
    May 2011
    April 2011
    March 2011
    February 2011
    January 2011
    December 2010
    November 2010
    October 2010
    September 2010
    August 2010
    July 2010
    June 2010

    Categories

    All
    All
    Art
    Chickens
    Cooking
    Flower Garden
    Goats
    Horses
    Vegetable Garden

    RSS Feed

Powered by Create your own unique website with customizable templates.