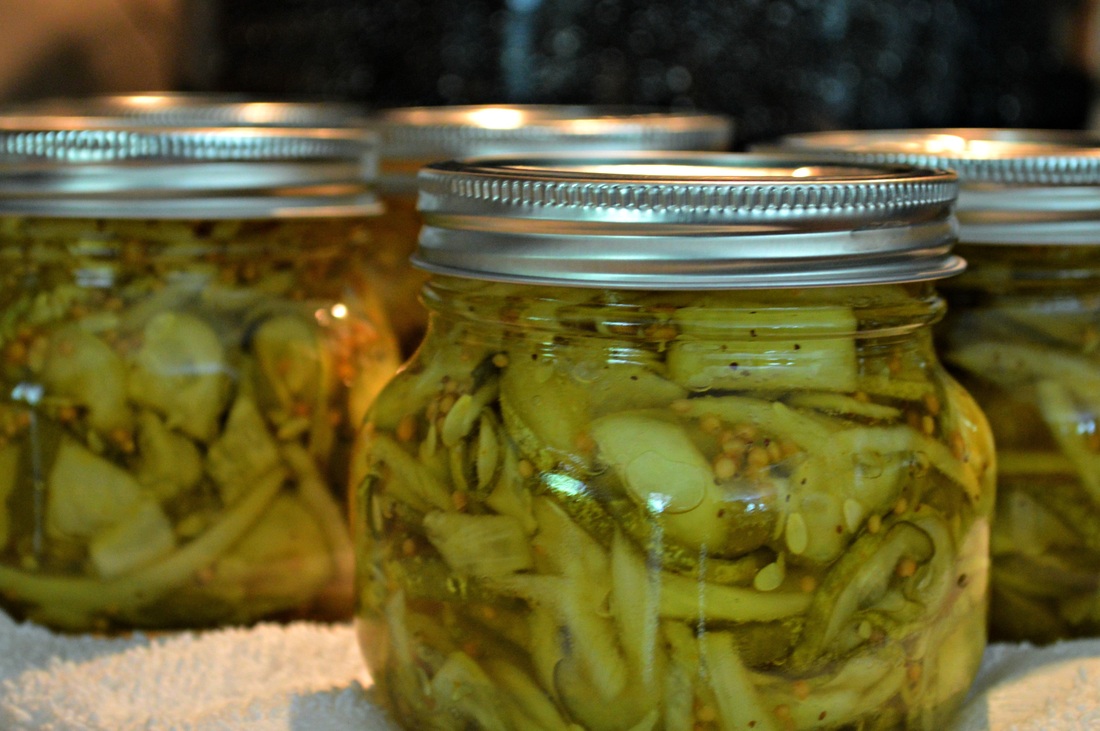
Bread and Butter Pickles
No matter how "old" I get, I seem to constantly experience moments of "growing up." Many of these milestones of maturity seem to come in the form of culinary feats. The kitchen accomplishments of my mother and grandmother set a bar of worth that rises above academic, athletic and financial achievements. Then, I regrettably did not act as an active observer to the process of making-the-food. (I nonetheless completely embraced role of active participant in eating-the-food!) Sadly my genetic culinary mentors are gone today, my sister and I are left to piece together the cookery memoirs of our mother and grandmother.
Like fresh bread and handmade pasta, my mother's pickles were a mystery to me. Witnessing my mother "put-up" pickles seemed to me like a mad scientist at work in her laboratory; huge pots of boiling water, sterilizing jars, chopped vegetables, salt and spices. To a teenager, very daunting indeed. Every time I would comment, "This looks impossible!" My mother's response every time, "It's not that hard." I never believed her. How could I deny what my eyes were seeing!
But she was 100% RIGHT! It is not just easy. It's REALLY REALLY easy! This was a lesson I had to learn on my own years later. The culminating moment was when I could stand in proud admiration of my beautiful sealed warm jars of pickles, snuggled a-top a soft, white bath towel. I resolutely proclaimed to my own teenage girls, "Grandma was right. This wasn't hard." Instantly my mother's voice of derision filled my head, "I told you." I notice that I am conceding more points to my mother with every day that passes!
So here you go, everyone. Make pickles. It's not hard!
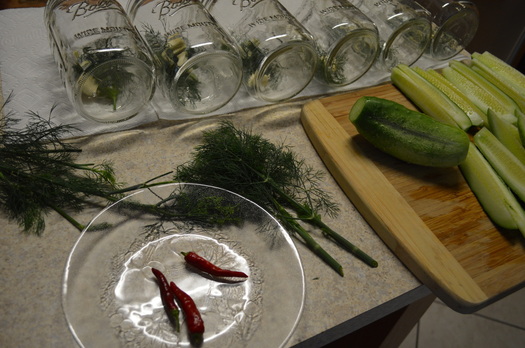
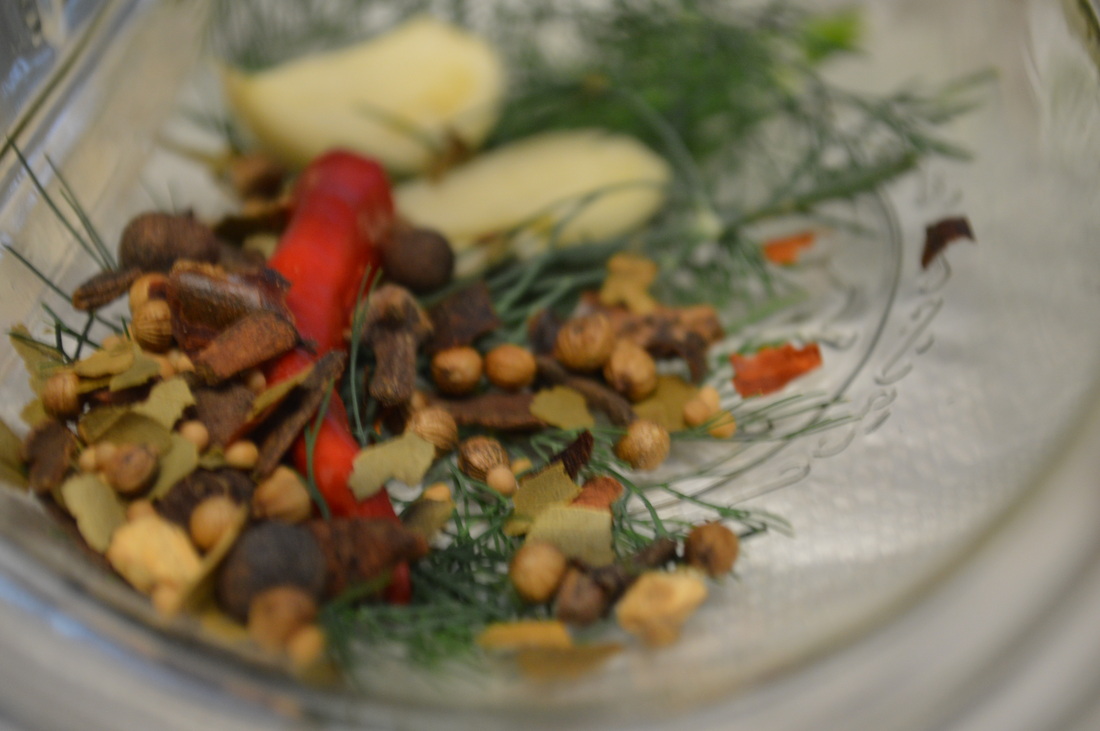
A couple of easy suggestions: Use the freshest, organic ingredients available. These recipes are very basic. Don't hesitate to get creative to your particular tastes and desires. I visited a friend the day before canning the dills and she gave me some wonderfully hot red pepper beauties fresh from her garden - in a few dill jars they went!
Sterilizing Jars - Wash them well in hot soapy water. Dry them off. Place them on a cookie sheet, right side up, at 225 degrees Fahrenheit for 15 minutes. Turn off oven and leave them until ready for use. But I do boil the lids in water.
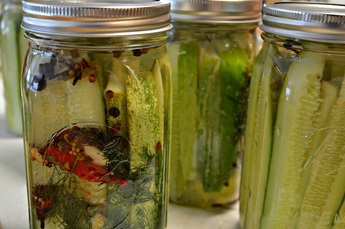
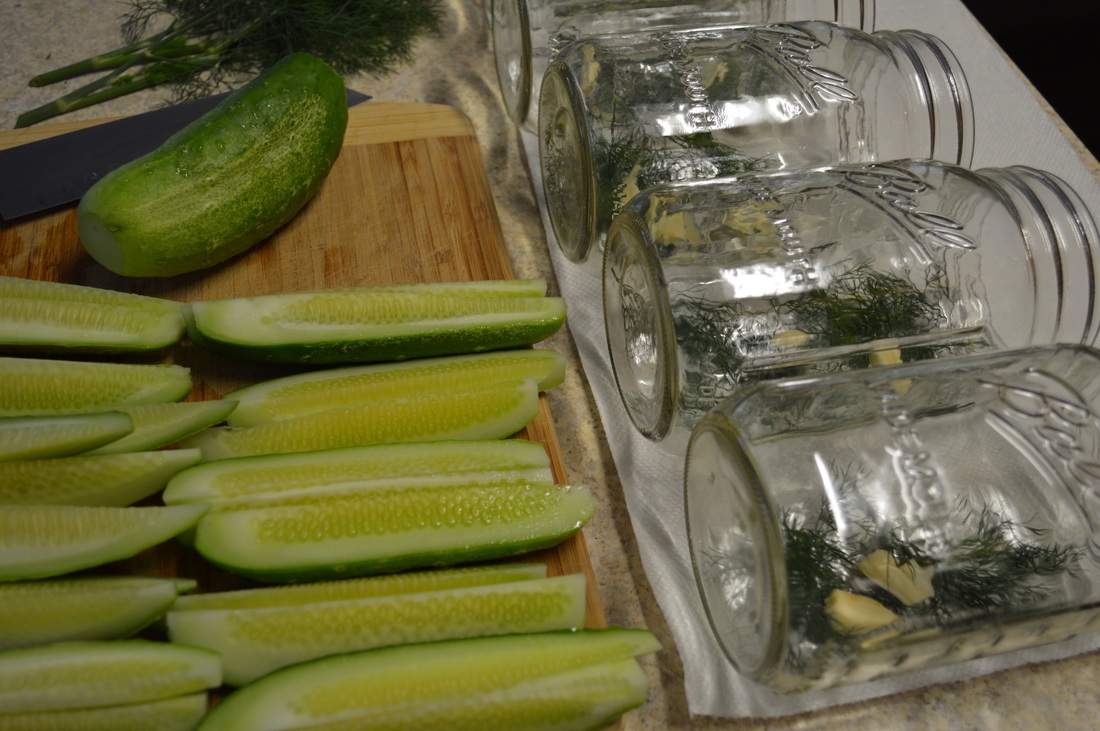
DILL PICKLE SPEARS
These amounts are for one quart. Adjust accordingly.
1 1/2 cups filtered water
1/2 cup White Vinegar
1 1/2 Tablespoons Pickling Salt
3 to 4 sprigs of fresh dill seeds - Seed heads should still be green.
1 to 2 Cloves of Garlic (optional)
1 quart small fresh cucumbers (You can slice in any shape, ie: spears, chips.)
1. Scrub the cucumbers thoroughly under cool water.Cut off blossom end and do not use damaged or bruised cucs.
2. To make brine, heat water, vinegar and salt until salt is dissolved.
3. Place sterilized jars on their side and place dill, garlic and any other ingredient you want.
4. Pack the jar with cucumbers.
5. Make sure they are packed snugly. Use the handle of a wooden spoon to wedge more in, if need be.
6. If using spears, be sure they are not too tall as to touch the lid and stick out of the brine.
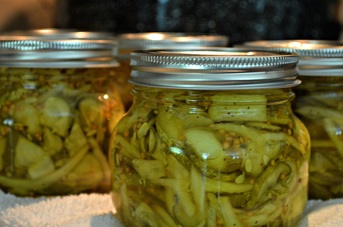
7. Pour the hot brine over the pickles, covering completely, leaving a little space under the lid.
8. Cap immediately with the sterilized lids.
9. DO NOT hot water process. This is a fermentation process.
Store for at least six weeks, but delicious stored longer than six months!
Like fresh bread and handmade pasta, my mother's pickles were a mystery to me. Witnessing my mother "put-up" pickles seemed to me like a mad scientist at work in her laboratory; huge pots of boiling water, sterilizing jars, chopped vegetables, salt and spices. To a teenager, very daunting indeed. Every time I would comment, "This looks impossible!" My mother's response every time, "It's not that hard." I never believed her. How could I deny what my eyes were seeing!
But she was 100% RIGHT! It is not just easy. It's REALLY REALLY easy! This was a lesson I had to learn on my own years later. The culminating moment was when I could stand in proud admiration of my beautiful sealed warm jars of pickles, snuggled a-top a soft, white bath towel. I resolutely proclaimed to my own teenage girls, "Grandma was right. This wasn't hard." Instantly my mother's voice of derision filled my head, "I told you." I notice that I am conceding more points to my mother with every day that passes!
So here you go, everyone. Make pickles. It's not hard!
A couple of easy suggestions: Use the freshest, organic ingredients available. These recipes are very basic. Don't hesitate to get creative to your particular tastes and desires. I visited a friend the day before canning the dills and she gave me some wonderfully hot red pepper beauties fresh from her garden - in a few dill jars they went!
Sterilizing Jars - Wash them well in hot soapy water. Dry them off. Place them on a cookie sheet, right side up, at 225 degrees Fahrenheit for 15 minutes. Turn off oven and leave them until ready for use. But I do boil the lids in water.
DILL PICKLE SPEARS
These amounts are for one quart. Adjust accordingly.
1 1/2 cups filtered water
1/2 cup White Vinegar
1 1/2 Tablespoons Pickling Salt
3 to 4 sprigs of fresh dill seeds - Seed heads should still be green.
1 to 2 Cloves of Garlic (optional)
1 quart small fresh cucumbers (You can slice in any shape, ie: spears, chips.)
1. Scrub the cucumbers thoroughly under cool water.Cut off blossom end and do not use damaged or bruised cucs.
2. To make brine, heat water, vinegar and salt until salt is dissolved.
3. Place sterilized jars on their side and place dill, garlic and any other ingredient you want.
4. Pack the jar with cucumbers.
5. Make sure they are packed snugly. Use the handle of a wooden spoon to wedge more in, if need be.
6. If using spears, be sure they are not too tall as to touch the lid and stick out of the brine.
7. Pour the hot brine over the pickles, covering completely, leaving a little space under the lid.
8. Cap immediately with the sterilized lids.
9. DO NOT hot water process. This is a fermentation process.
Store for at least six weeks, but delicious stored longer than six months!
BREAD AND BUTTER PICKLES
Yields approx. 3 Quarts
15 cups sliced pickling cucumbers
3 onions, thinly sliced
2 to 3 Garlic Cloves, chopped
1 cup chopped green bell pepper
1/4 cup coarse salt
4 cups ice cubes
2 1/2 cups cider vinegar
2 1/2 cups sugar (I actually reduce the sugar a little.)
1 teaspoon turmeric
3/4 teaspoon celery seed
1 1/2 Tablespoon mustard seeds
1. Sterilize jars and lids.
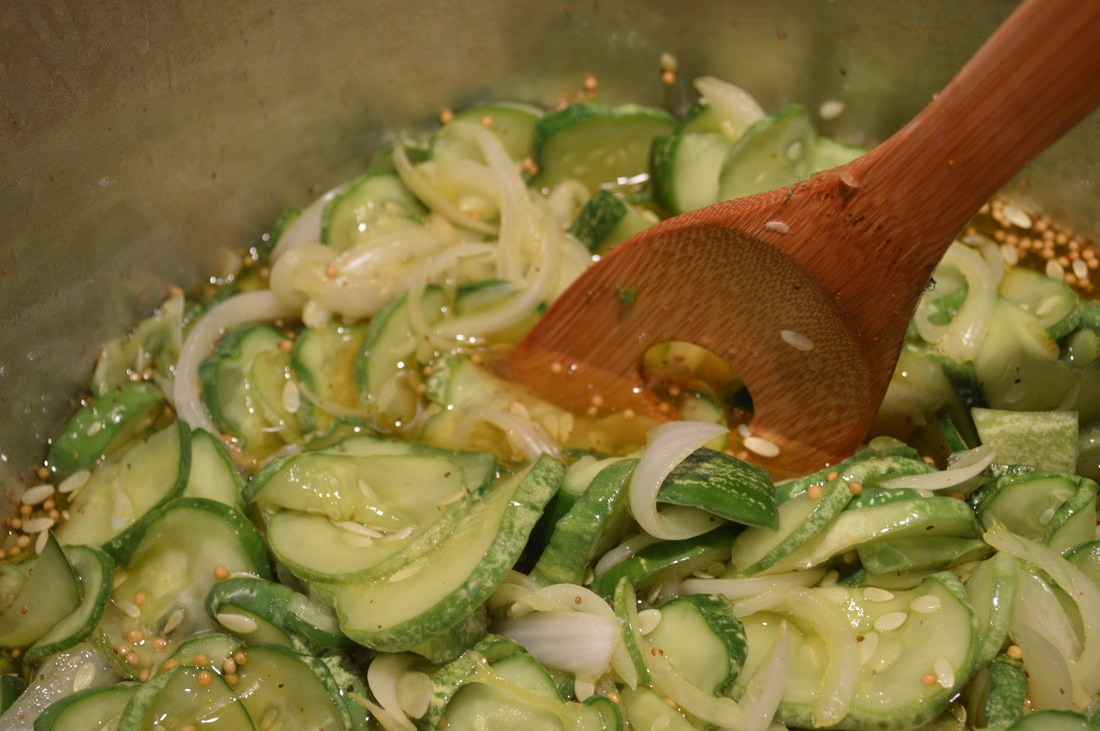
2. Combine cucumbers, onions, garlic, pepper, salt and ice in a large bowl.
3. Mix well and sit a weight on the mixture and allow to stand for 3 hours. (I place a plate on top of the mixture with a gallon jug of water on top.)
4. Rinse and drain the mixture thoroughly.
5. Combine vinegar, sugar, turmeric, celery seed and mustard seed in a large pot.
6. Add drained cucumbers.
7. Place pot on medium low heat.
8. Bring to almost a boil - DO NOT BOIL.
9. Remove from heat.
10. Spoon mixture into sterilized jars and cover with liquid.
11. Wipe rims of jars with damp cloth.
12. Seal with sterilized lids.
13. Place in hot water bath for 10 minutes.
No waiting time to eat! Go for it!
Yields approx. 3 Quarts
15 cups sliced pickling cucumbers
3 onions, thinly sliced
2 to 3 Garlic Cloves, chopped
1 cup chopped green bell pepper
1/4 cup coarse salt
4 cups ice cubes
2 1/2 cups cider vinegar
2 1/2 cups sugar (I actually reduce the sugar a little.)
1 teaspoon turmeric
3/4 teaspoon celery seed
1 1/2 Tablespoon mustard seeds
1. Sterilize jars and lids.
2. Combine cucumbers, onions, garlic, pepper, salt and ice in a large bowl.
3. Mix well and sit a weight on the mixture and allow to stand for 3 hours. (I place a plate on top of the mixture with a gallon jug of water on top.)
4. Rinse and drain the mixture thoroughly.
5. Combine vinegar, sugar, turmeric, celery seed and mustard seed in a large pot.
6. Add drained cucumbers.
7. Place pot on medium low heat.
8. Bring to almost a boil - DO NOT BOIL.
9. Remove from heat.
10. Spoon mixture into sterilized jars and cover with liquid.
11. Wipe rims of jars with damp cloth.
12. Seal with sterilized lids.
13. Place in hot water bath for 10 minutes.
No waiting time to eat! Go for it!
 RSS Feed
